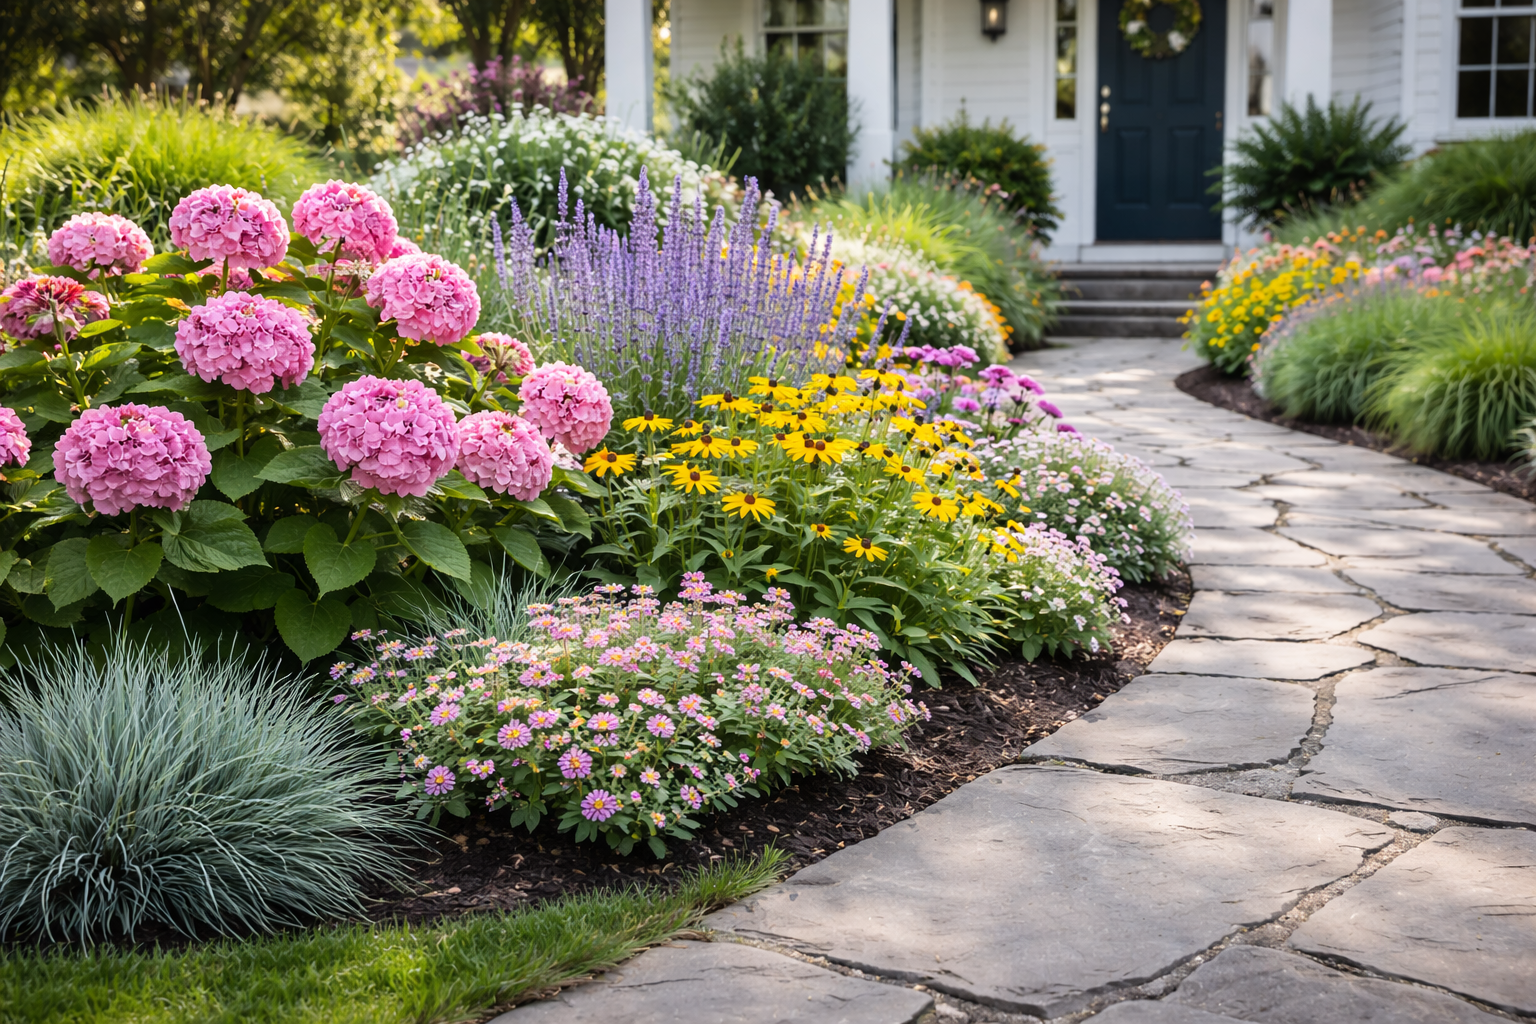

Starting a garden from scratch often feels like an expensive hobby, but it does not have to break your bank account. You can grow plenty of fresh food even if you are working with a tight budget this season. This list of 15 economical methods for launching your new garden on a budget shows you how to find free supplies and layout vegetable garden for beginners without spending a fortune.
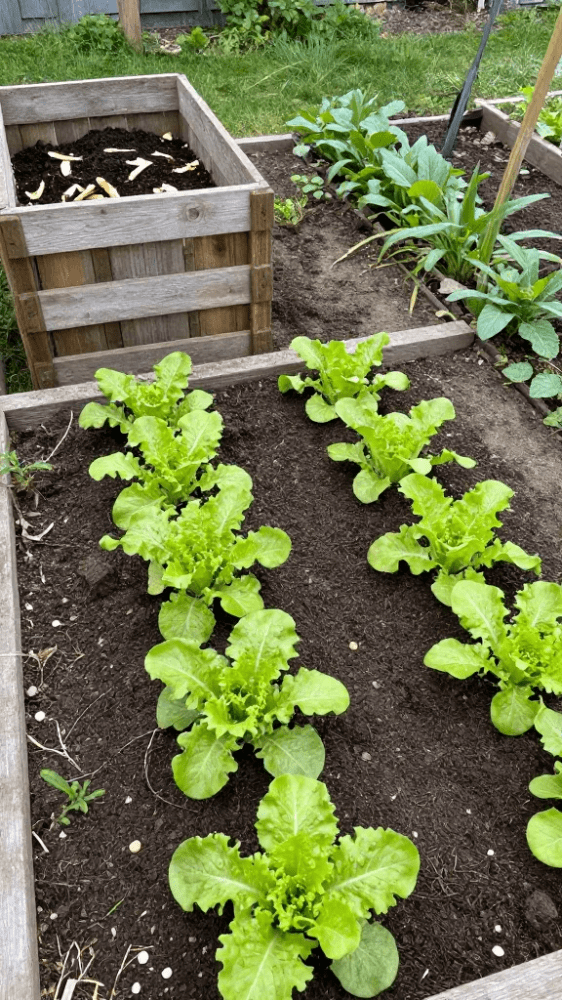
1. Start Small With High-Yield Vegetables
You don’t want to spend your entire weekend weeding a massive plot only to harvest a single basket of food. Starting with high-yield crops ensures you get a massive return on your investment of time and seeds. It keeps your motivation high because you’ll actually see results on your dinner plate every single week.
Focus your beginner garden on prolific producers like zucchini, cherry tomatoes, and bush beans. A single zucchini plant can easily provide more squash than one family can eat, while indeterminate tomatoes keep pumping out fruit until the first frost. These plants are tough and don’t require the delicate care that more finicky vegetables often need.
Planting these in a smaller, concentrated space helps you manage your budget by reducing the amount of soil and fertilizer you need to buy. You can even grow these in large buckets or recycled containers if you aren’t ready to dig up the yard. This approach lets you learn the ropes of a beginner garden without feeling overwhelmed by a huge variety of plants.
2. Borrow Tools From Neighbors Or Libraries
You might find yourself staring at a heavy duty tiller that costs three hundred dollars at the hardware store. Instead of pulling out your credit card, check your local library or knock on a neighbor’s door.
Many cities now host tool libraries where you can check out shovels and shears just like books. It is a smart way to get your beginner garden started without cluttering your garage with expensive gear you only use once a year.
| Source | Best For | Cost |
|---|---|---|
| Tool Library | Power tools and specialized machinery | Small annual fee |
| Neighbors | Hand tools and quick favors | Free or a basket of veggies |
Borrowing creates a great connection with the people living around you. You can swap advice while you hand back a borrowed rake or spade.
Most long time gardeners have extra equipment gathering dust in their sheds. They are usually happy to help a beginner garden thrive by sharing what they already own.
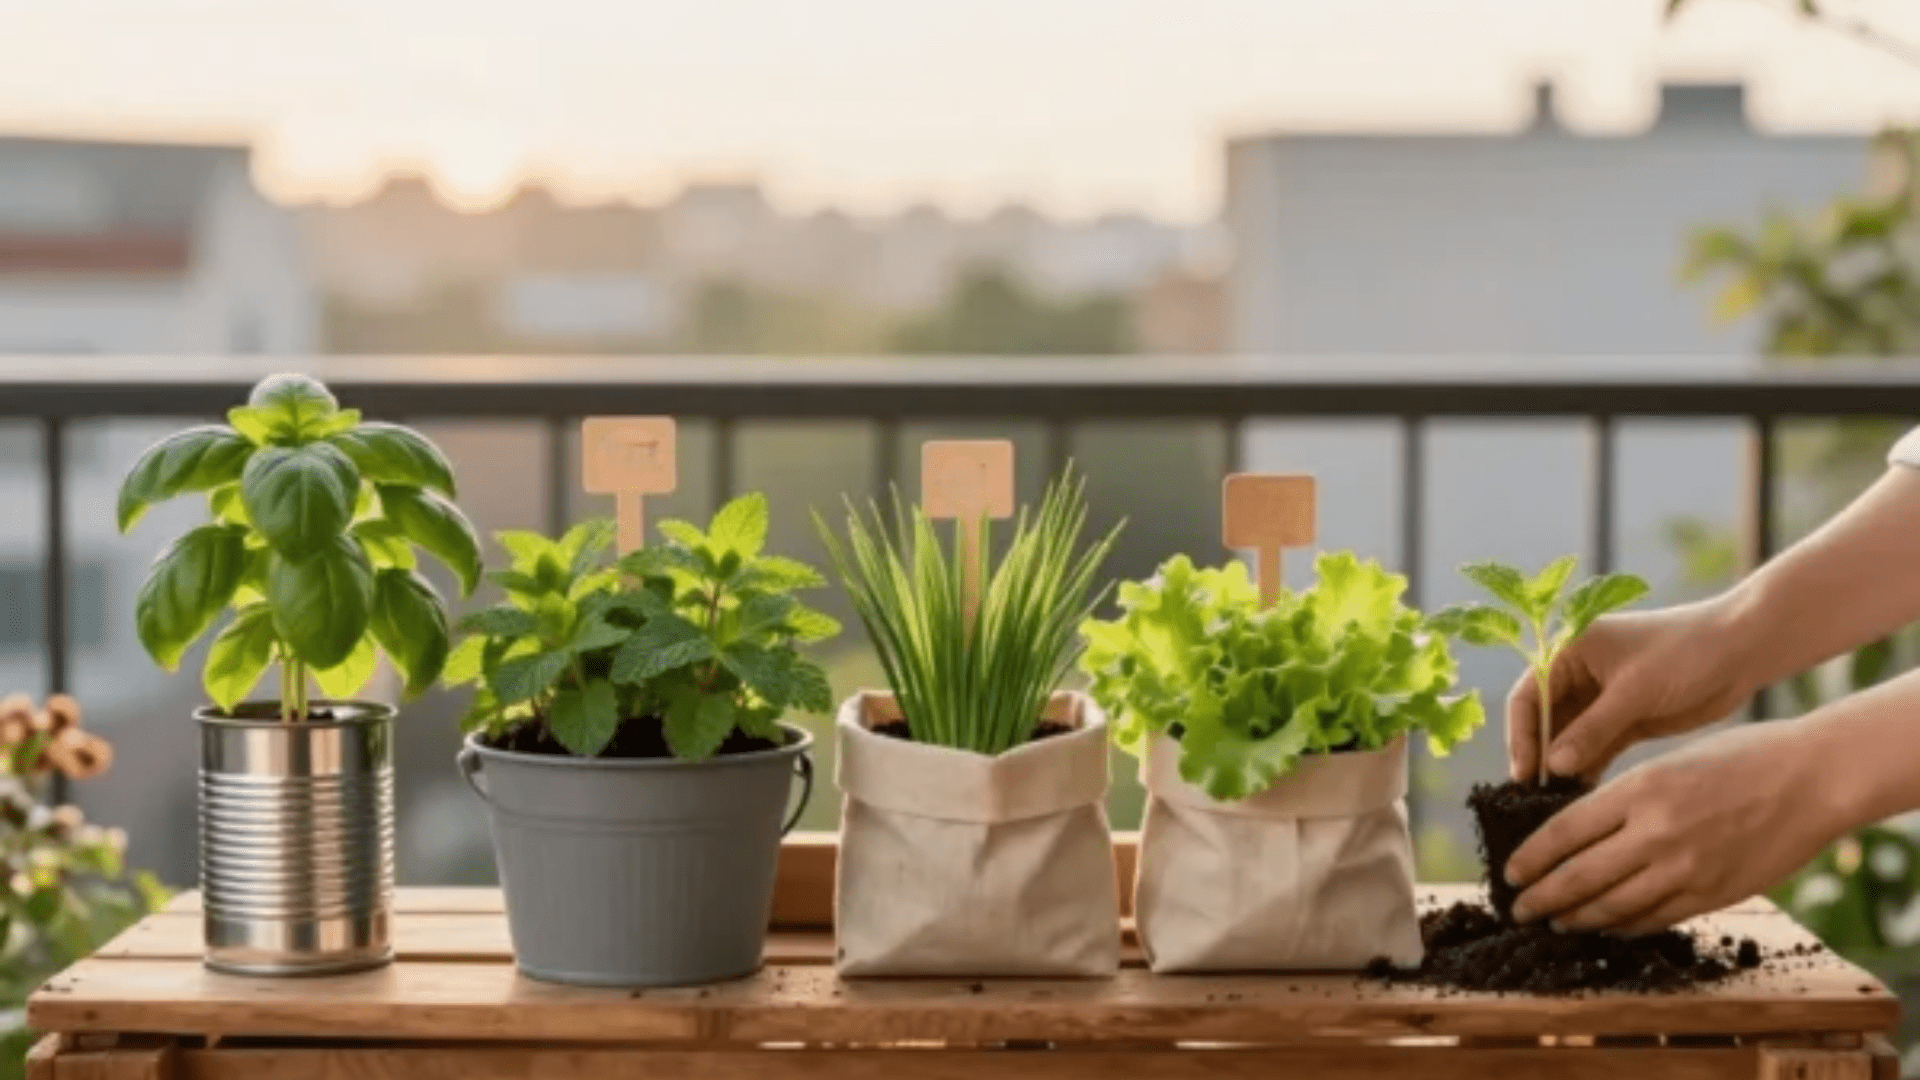
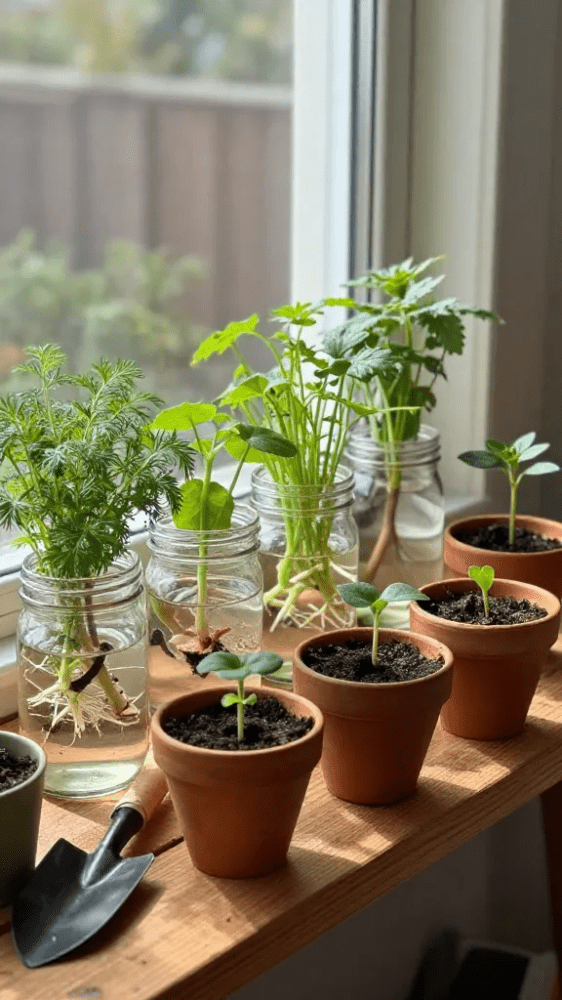
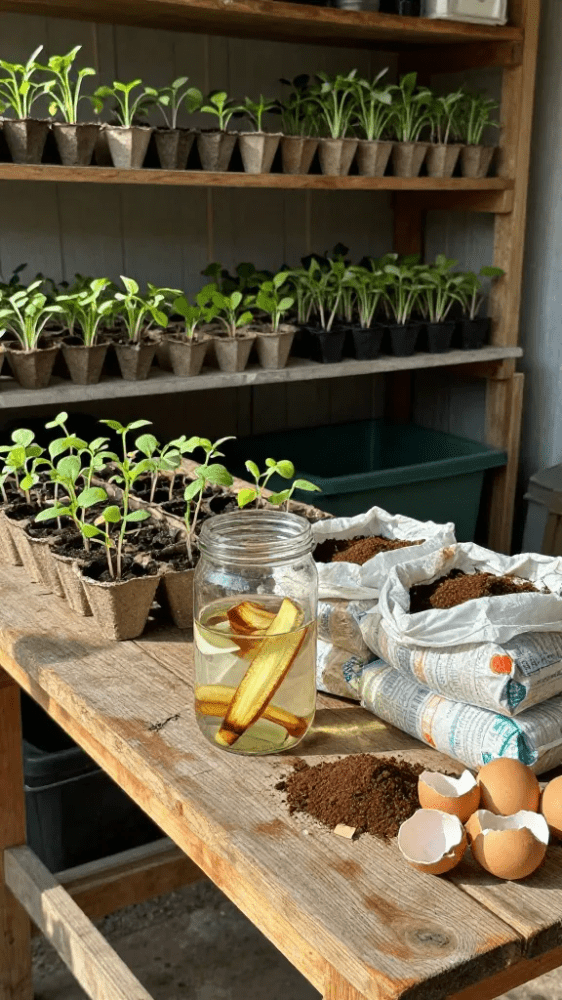
3. Grow Your Own Plants From Seeds
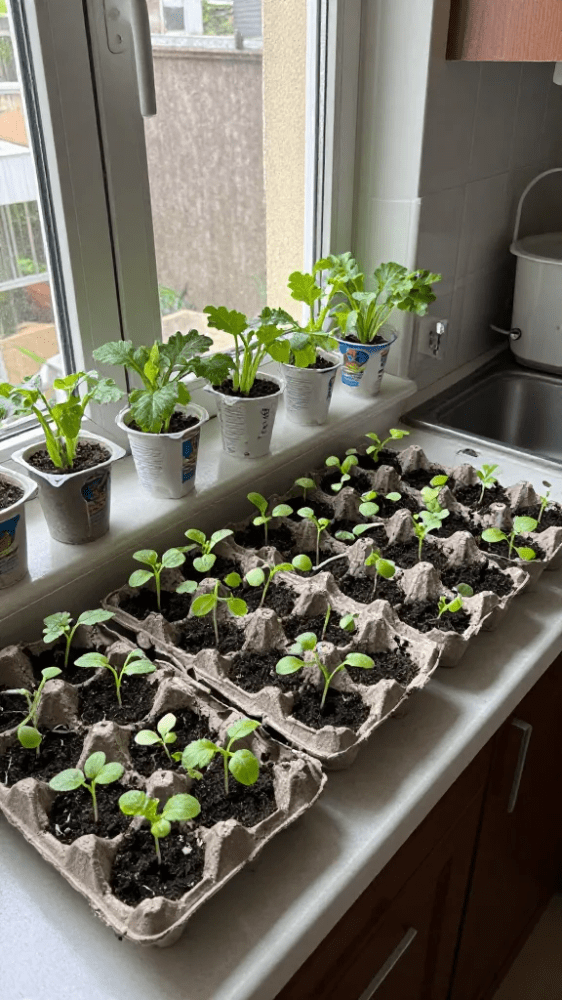
Buying starts from a nursery is a total waste of money when a packet of seeds costs less than a cup of coffee. You can get dozens of plants for the price of one single seedling if you’re willing to wait a few extra weeks. It’s the most effective way to manage a layout vegetable garden for beginners without blowing your entire budget on plastic pots.
Grab some egg cartons or yogurt cups to act as free starter trays on your windowsill. Focus on easy wins like beans, zinnias, or radishes that sprout quickly and don’t need fancy grow lights. This approach lets you experiment with rare varieties that big box stores never carry. You’ll have enough extra plants to trade with neighbors for tools or compost.
4. Use Kitchen Scraps For Free Compost
You can stop throwing money away on expensive bags of soil by keeping a small bin under your sink for food waste. Nitrogen rich greens like apple peels and coffee grounds provide the fuel your soil needs to grow healthy plants.
When you layout vegetable garden for beginners, placing your compost pile nearby makes it easy to dump scraps and turn the pile. It turns your trash into black gold that feeds your veggies without costing a single cent.
- Keep a lidded bucket in the kitchen to collect eggshells, banana peels, and vegetable ends throughout the week.
- Avoid adding meat, dairy, or oily foods because these will attract pests and create bad smells in your yard.
- Mix your wet kitchen scraps with dry brown materials like shredded cardboard or fallen leaves to keep the pile balanced.
This simple habit ensures your soil stays fertile and productive as you layout vegetable garden for beginners on a tight budget.
5. Collect Rainwater With Simple Barrels
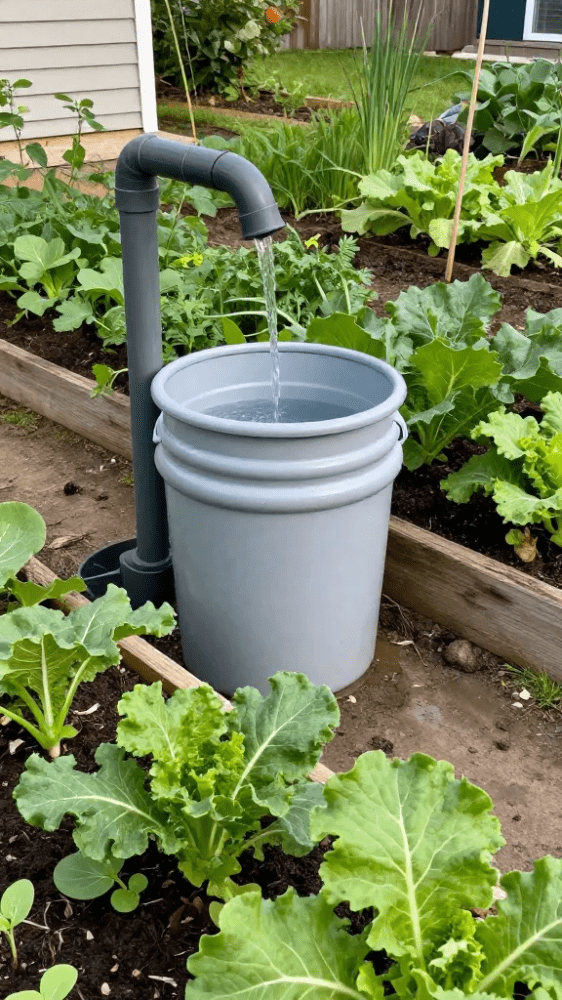
You really don’t need a fancy irrigation system to keep your plants hydrated during a dry spell. I started by just placing a food-grade plastic drum under my downspout, and it worked better than I expected.
Most plants actually prefer rainwater because it doesn’t have the chlorine or fluoride found in city tap water. It is a great way to handle Gardening 101 basics without watching your utility bill spike every month.
You can usually find these barrels for cheap or even free from local car washes or food processing plants. Just make sure you grab a mesh screen for the top to keep mosquitoes from turning your water supply into a breeding ground.
Adding a simple brass spigot near the bottom makes it easy to fill up your watering can. It’s a low-tech solution that saves money and keeps your garden green even when the rain stops falling for a few weeks.
6. Find Free Wood Chips For Mulch
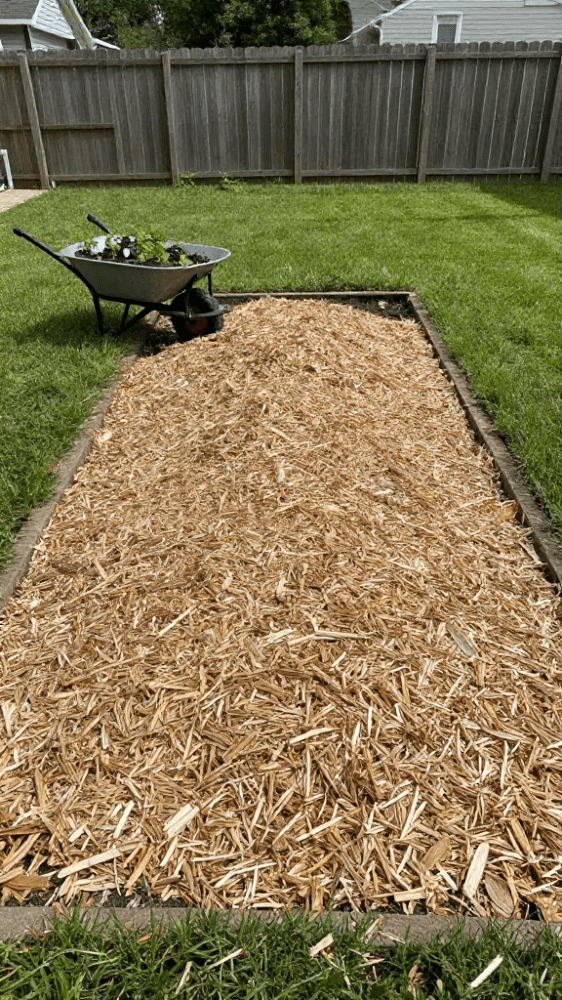
Getting your hands on free wood chips is the best way to suppress weeds and build soil health without spending a dime. Local tree services are usually desperate to avoid dump fees and will happily drop a massive pile in your driveway if you’re nearby.
You can use a service like ChipDrop to connect with these crews, though you need to be ready for a large delivery. For those just starting with Gardening 101, these chips act as a slow release fertilizer as they break down over time.
- Contact local arborists directly to see if they have a job scheduled in your neighborhood this week.
- Check with your municipal recycling center because many cities offer free mulch piles for residents to shovel themselves.
- Sign up for a delivery app that matches gardeners with tree trimmers looking to offload their carbon rich waste.
- Watch for utility crews clearing branches near power lines since they often need a quick spot to dump their load.
Make sure you specify that you don’t want diseased wood or invasive species like black walnut. Fresh chips are perfect for paths, but let them age a bit before putting them right against tender stems in your Gardening 101 project.
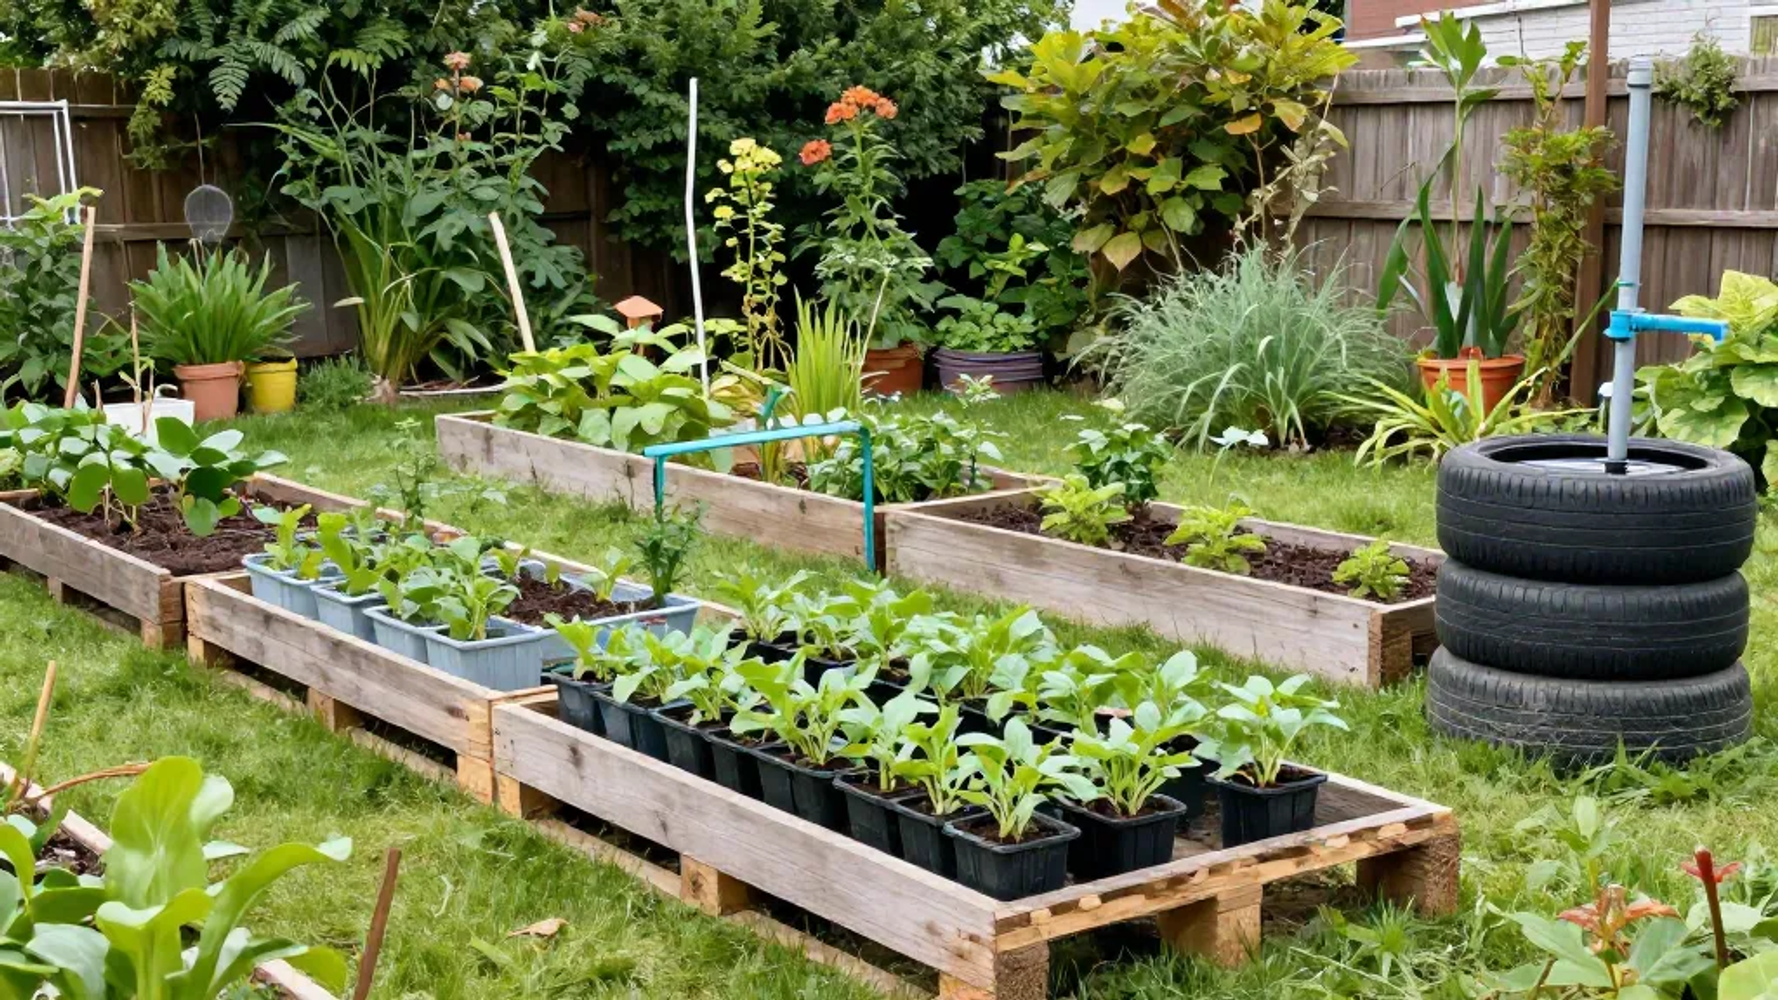
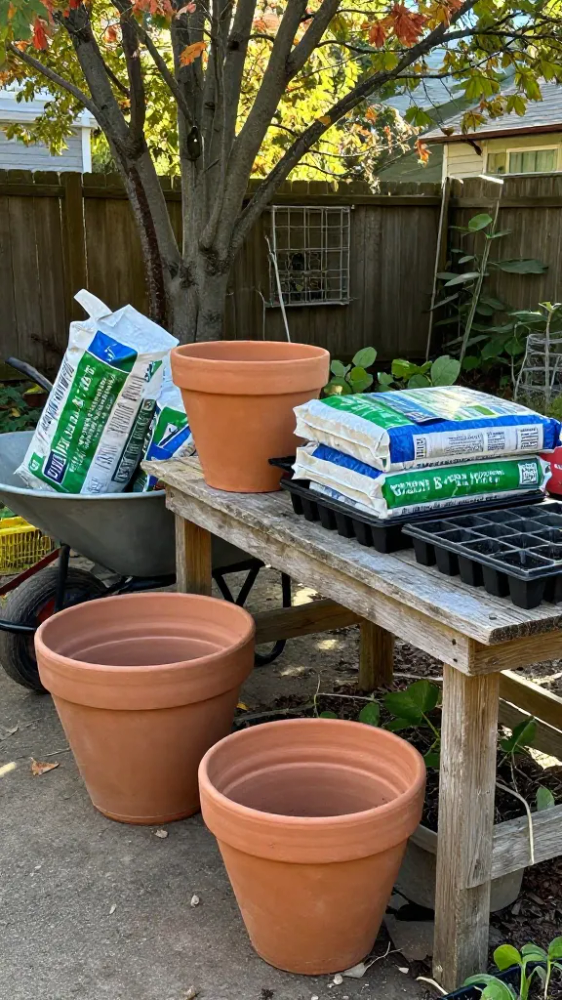
7. Upcycle Old Containers For Planters
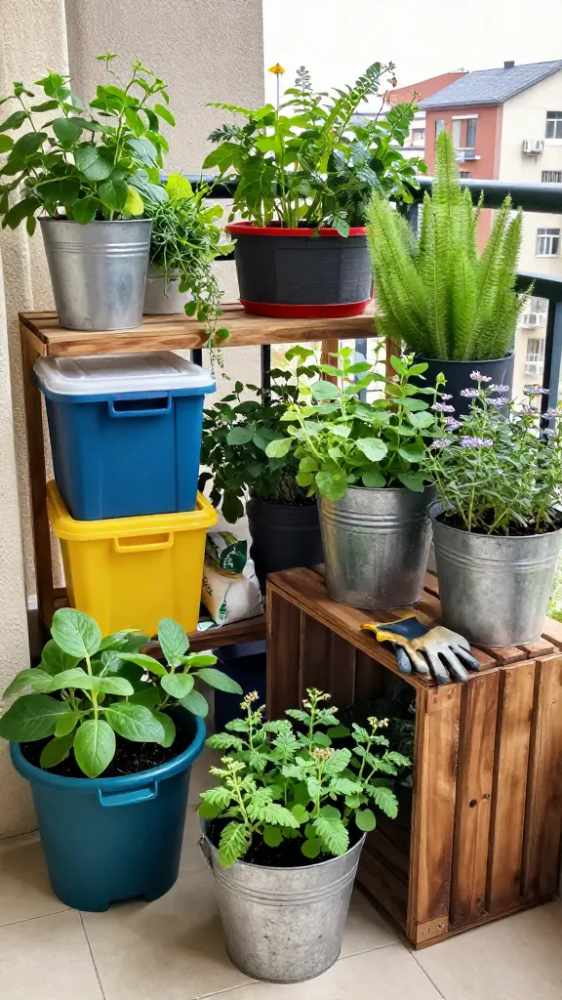
You can spend a fortune on ceramic pots at a big box store, or you can poke holes in the bottom of a plastic yogurt tub. The expensive pots look polished from day one, but they often crack during the first winter freeze.
Plastic food containers or old wooden crates are much more forgiving and cost literally nothing. They might look a bit rugged at first, but once the vines start trailing over the sides, you won’t even see the repurposed plastic underneath.
If you’re figuring out how to start a garden from scratch, I recommend starting with deep containers like five gallon buckets or metal coffee tins. Just make sure to scrub them thoroughly with soap to remove any food residue that could attract pests.
Drill at least four half inch holes in the bottom of whatever you choose to ensure the roots don’t rot. This approach saves your budget for high quality soil and seeds, which are the things that actually make your plants grow.
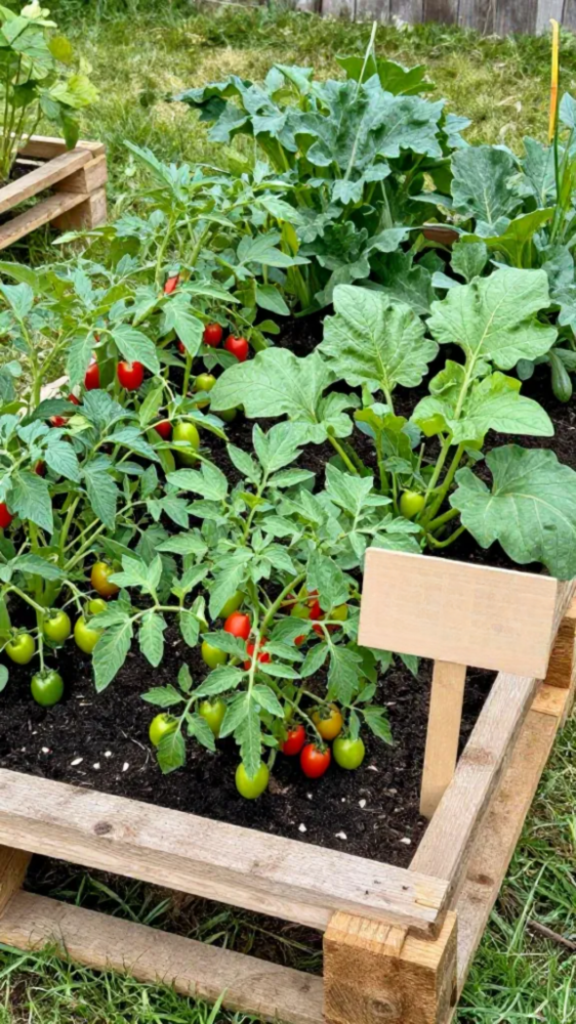
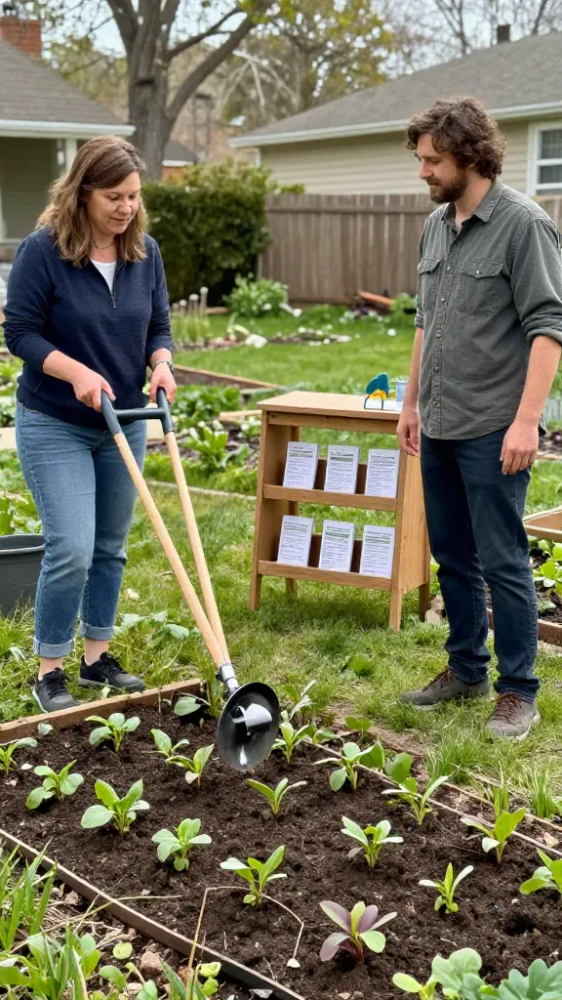
8. Design A Simple Rectangular Bed Layout
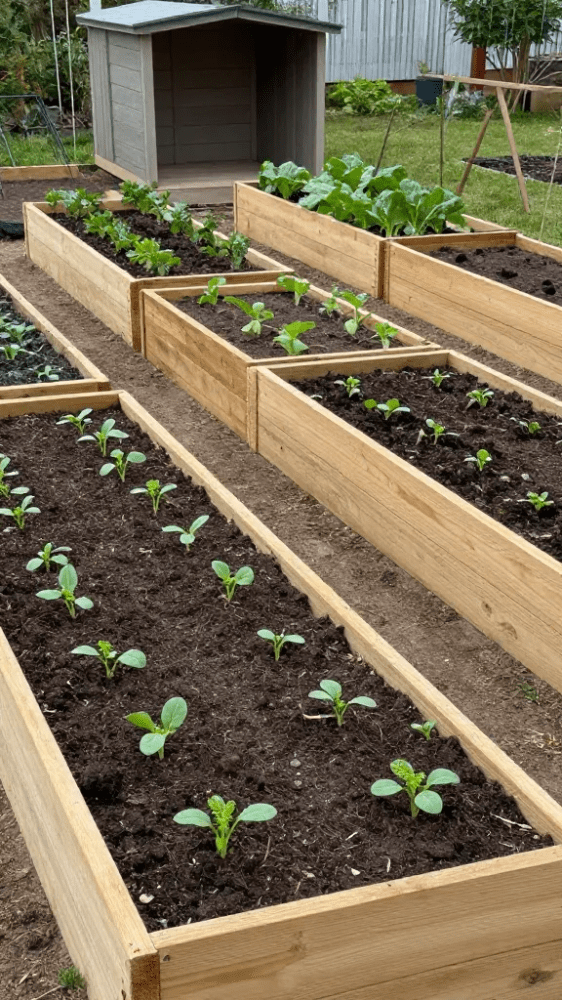
Starting with a basic rectangle is the smartest way to keep your costs low and your sanity intact. Complex curves and circular designs require expensive edging materials and constant trimming that most beginners just don’t have time for. A straight line is much easier to measure, dig, and maintain over the long haul.
When you figure out how to start a garden from scratch, you should stick to a width of four feet or less. This ensures you can reach the center from either side without stepping on the soil and compacting it. You can use simple scrap lumber or even fallen branches to mark the perimeter of your new growing space.
This layout makes it incredibly easy to calculate how much mulch or compost you need to buy. You won’t waste money on extra materials because the square footage is a simple math problem. It’s the most practical approach for anyone learning how to start a garden from scratch on a tight budget.
9. Trade Extra Seeds With Local Gardeners
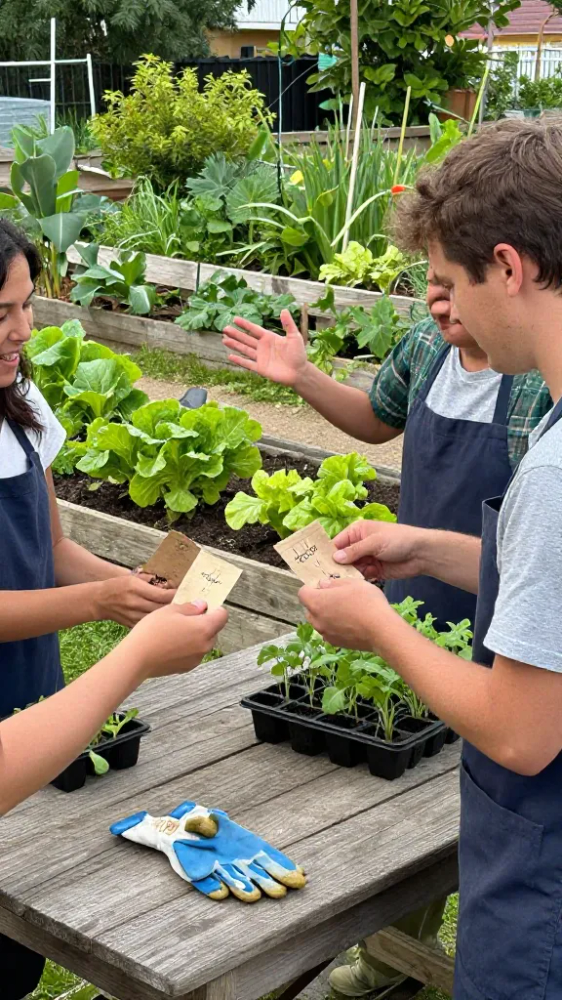
Imagine you bought a packet of 500 kale seeds but only have room for six plants in your raised bed. Instead of letting those seeds gather dust in a drawer, you can swap them for something you actually need like heirloom tomatoes or spicy peppers.
| Source | Typical Cost | Variety |
|---|---|---|
| Big Box Store | $3.00 to $5.00 per pack | Standard commercial hybrids |
| Local Seed Swap | $0.00 (Trade only) | Regionally adapted heirlooms |
Most gardeners are incredibly generous and love talking about their favorite varieties. You can find these people at community centers, public libraries, or even through neighborhood Facebook groups.
Trading locally ensures the plants you get are already used to your specific soil and weather. It’s a smart way to diversify your garden without spending a single dime at the nursery.
Just grab some small envelopes and a sharpie to label your leftovers. You’ll likely walk away with a handful of rare seeds that you can’t even find in a glossy catalog.
10. Buy Soil And Mulch In Bulk
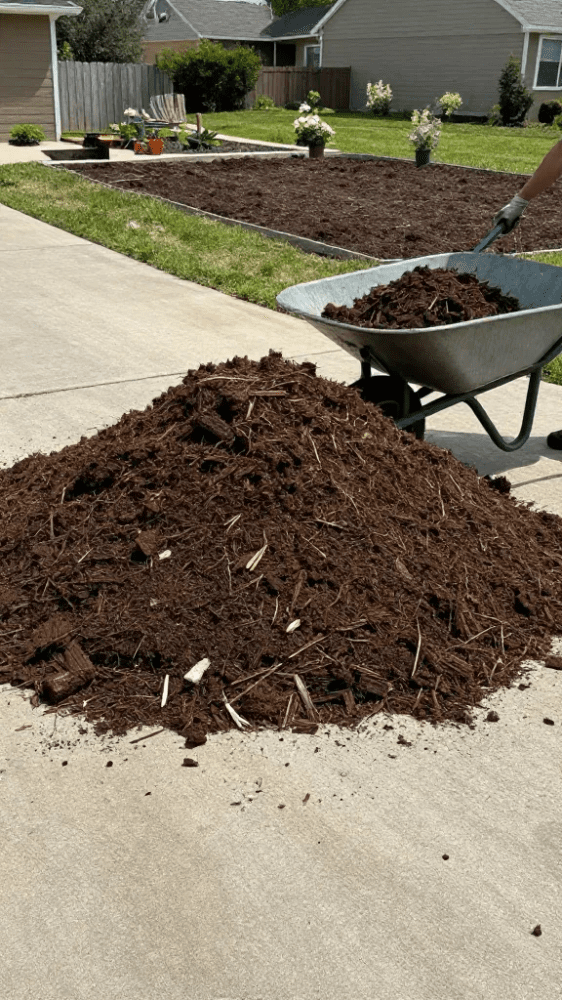
Bagged garden soil is a total rip off if you’re filling more than two small pots. You’ll spend five times more at a big box store than you would at a local landscaping yard.
Most local suppliers sell screened topsoil or aged compost by the cubic yard. They’ll drop a massive pile right in your driveway for a flat delivery fee.
This approach saves you from hauling dozens of heavy plastic bags that just end up in the landfill. You can often split a load with a neighbor to bring the cost down even further.
Buying bulk mulch works the same way and keeps your soil moist for pennies on the dollar. Wood chips from a local tree service are sometimes even free if you’re willing to wait.
11. Propagate New Plants From Cuttings
Snip a healthy stem from a friend’s hydrangea or your own overgrown basil to double your inventory for free. This method bypasses the cost of nursery pots and the long wait times associated with starting from seed.
Most softwood cuttings root quickly in a simple glass of filtered water or a small pot of damp sand. You are essentially cloning a plant that you already know thrives in your local climate and soil conditions.
- Cut a six inch stem just below a leaf node where natural growth hormones are most concentrated.
- Strip the lower leaves to prevent rot and dip the end in cinnamon to act as a natural antifungal agent.
- Keep the cutting in bright, indirect light rather than harsh sun to prevent the foliage from wilting before roots form.
- Check for resistance after three weeks by gently tugging the stem to see if a root system has anchored.
Once you see an inch of white root growth, you can move your new plant into its permanent spot in the garden beds.
12. Use Cardboard For Cheap Weed Control
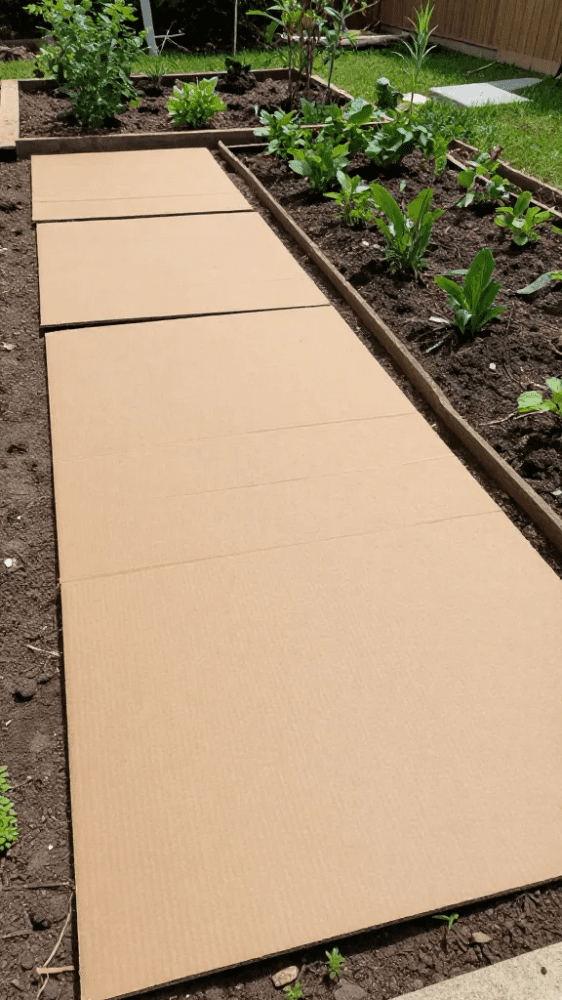
You probably have a stack of Amazon boxes sitting in your garage right now. Instead of tossing them in the recycling bin, you can use them to stop weeds from taking over your new garden beds.
I usually start by clearing away any massive rocks or debris from the area. Then, I lay the cardboard flat directly over the grass or existing weeds, making sure to overlap the edges by at least six inches.
This overlap is the secret because it prevents stubborn grass from sneaking through the gaps. You want to remove any plastic shipping tape or staples before you put it down, as those won’t break down in the soil.
Once the ground is covered, soak the cardboard thoroughly with a hose so it stays in place. You can then pile mulch, compost, or soil right on top of it to hide the brown paper.
Over the next few months, the cardboard will starve the weeds of light and eventually rot away. This process actually feeds the local earthworms while building rich organic matter for your plants.
13. Choose Perennials For Long-Term Savings
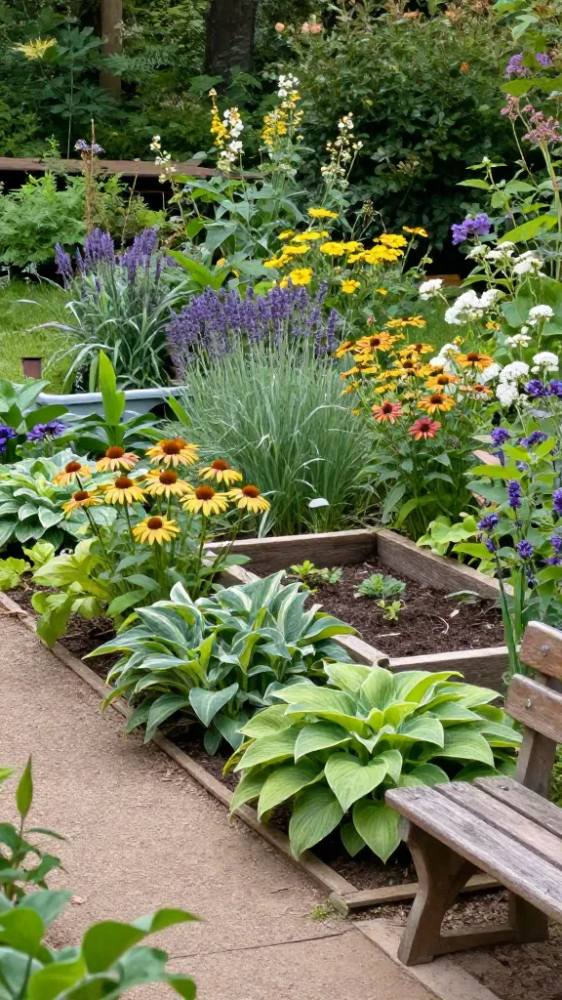
Buying annuals every spring is a fast way to drain your wallet. While those bright petunias look great for a few months, they die the moment the first frost hits your yard.
Perennials are the better financial move because they return every year. You pay for the plant once and it actually gets bigger and better as time goes on.
The smartest part about this strategy is that many of these plants can be split into two or three new plants after a few seasons. This lets you fill up your garden beds for free using the original investment you made years ago.
- Daylilies are incredibly tough and will survive almost any soil condition while spreading naturally.
- Hostas thrive in shady spots and can be easily divided with a shovel every few years to create new clusters.
- Purple Coneflowers attract pollinators and drop seeds that often sprout into new baby plants the following spring.
- Sedum is a drought tolerant choice that requires almost zero maintenance once the roots are established.
14. Make Natural Fertilizers At Home
You can buy expensive bottled organic nutrients at the store, or you can use kitchen scraps that you’d normally throw away. Store-bought options are convenient, but they often contain preservatives and cost a fortune over a single season.
Making your own liquid gold is much better for your wallet and your soil health. I recommend soaking banana peels in a jar of water for two days to create a potassium-rich tea for your tomatoes. It is simple, free, and gives your plants a direct boost without the risk of chemical burns.
If you have leftover coffee grounds, mix them directly into the top inch of your soil for a slow-release nitrogen hit. You’ll see deeper green leaves within a week or two. Crushed eggshells also work wonders when tucked around the base of peppers to prevent blossom end rot.
15. Shop End-Of-Season Garden Sales
Most garden centers start clearing out their inventory in late August and September to make room for holiday decor. This timing is perfect because you can snag high quality perennials and tools for 50 to 75 percent off the original price. It’s the best way to get expensive items like ceramic pots or fruit trees without blowing your entire budget.
The secret is knowing that many plants look a bit rough in their nursery pots by late summer. They might have a few brown leaves or look slightly wilted, but their root systems are usually well established and ready for the ground. Fall is actually a better time for planting anyway since the cooler air and warm soil help roots take hold before winter.
Don’t overlook the hard goods section during these clearance events. You can stock up on bags of organic soil, cedar mulch, and sturdy shovels that usually cost a premium in the spring. Buying these supplies now means you’ll have everything ready to go the moment the ground thaws next year.
Wrapping Up
Starting a garden from scratch does not have to be expensive. These 15 economical methods for launching your new garden project show that you can build a beautiful space using basic tools and recycled materials. Now that you have the basics of gardening 101 down, it is time to grab your shovel and start planting. Your dream backyard is finally within reach.